ऑब्जेक्ट्स बनाना
AutoCAD सीखने का अगला कदम है ऑब्जेक्ट्स बनाना। आर्किटेक्चरल ड्रॉइंग्स मूल रूप से लाइनों, कर्व्स, पॉइंट्स, और एरिया हाइलाइट्स का संयोजन होती हैं। इन बेसिक ऑब्जेक्ट्स में महारत हासिल करना, आर्किटेक्ट्स के लिए सटीक और प्रभावी डिज़ाइन तैयार करने की नींव है।
इस भाग में हम सीखेंगे: Lines, Curved Objects, Points, Regions और Hatching।
Drawing Lines (रेखाएँ बनाना)
- AutoCAD में सबसे ज़्यादा इस्तेमाल होने वाला ऑब्जेक्ट Line है।
- Command:
LINEया शॉर्टकटL - Steps:
- Command Line पर
Lटाइप करें और Enter दबाएँ। - पहला बिंदु चुनें।
- दूसरा बिंदु चुनें।
- Enter दबाएँ।
- Command Line पर
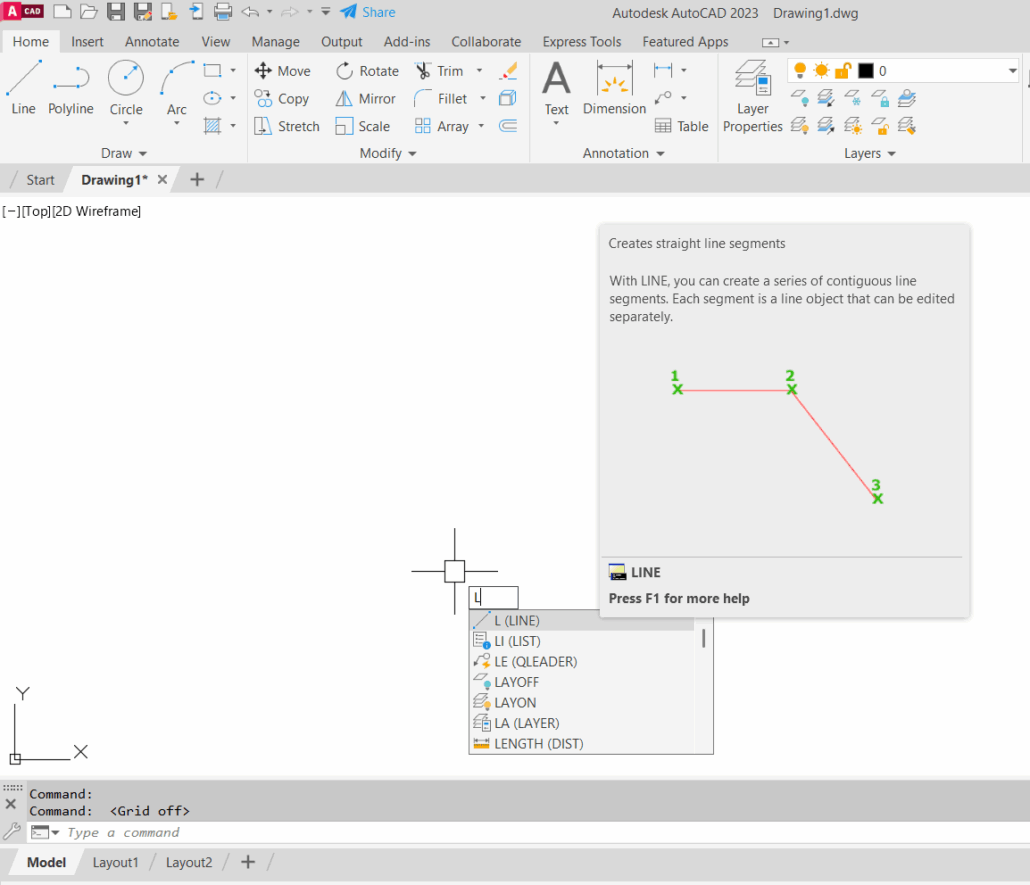
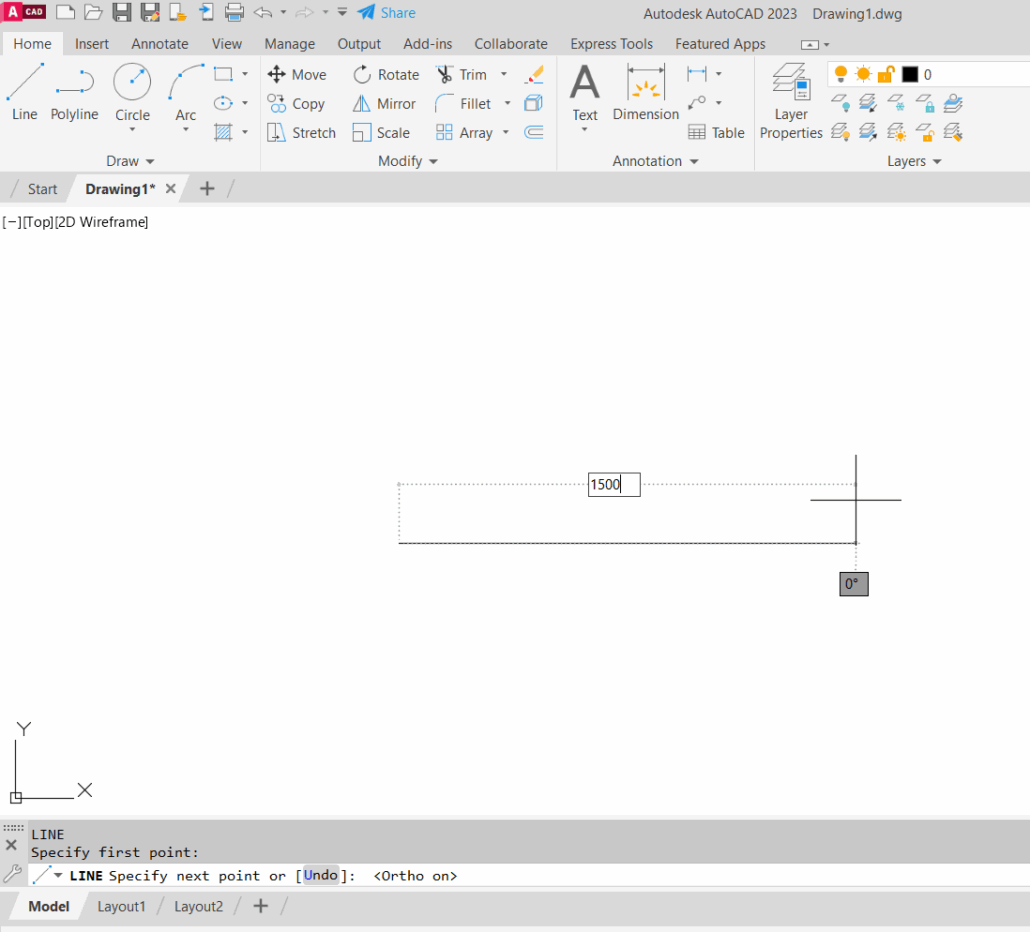
👉 Architectural Drawings में लाइन्स का उपयोग दीवारों, कॉलम ग्रिड, एलिवेशन outlines आदि बनाने में होता है।
Drawing Curved Objects (वक्र ऑब्जेक्ट बनाना)
Curves किसी भी आर्किटेक्चरल डिज़ाइन को और ज़्यादा डायनेमिक बनाते हैं।
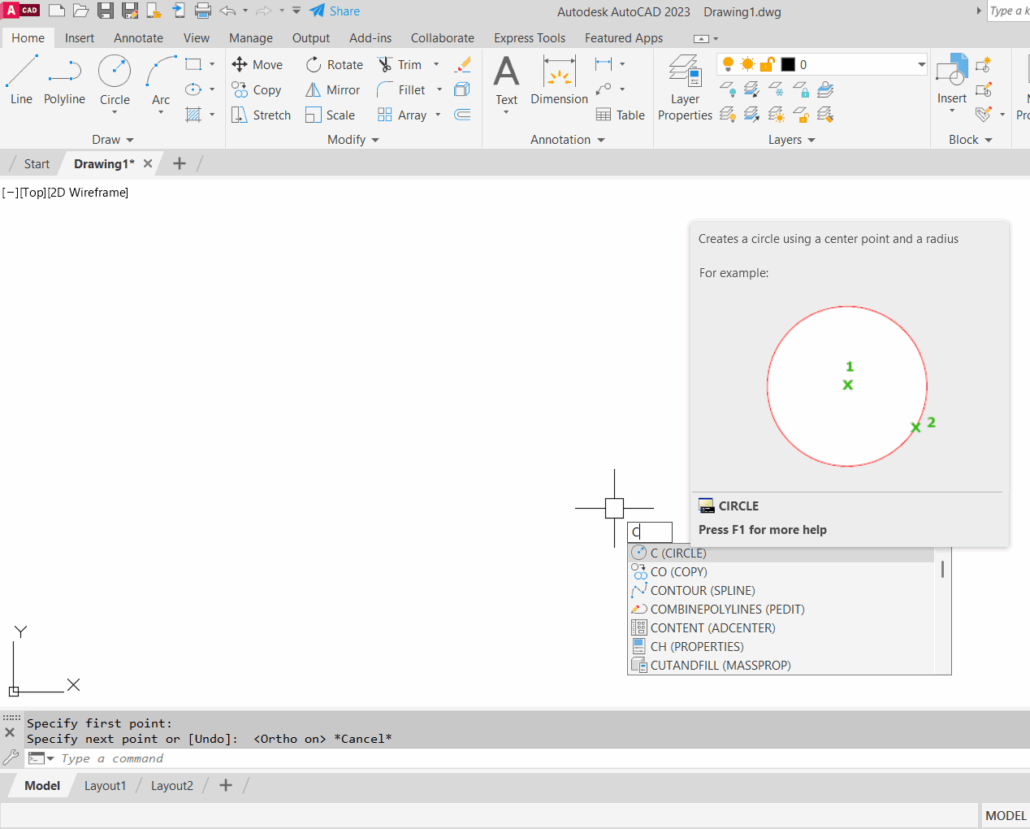
- Circle:
Cटाइप करें → Center चुनें → Radius या Diameter दें। - Arc:
ARCटाइप करें → Start, Center, End बिंदु चुनें। - Ellipse:
ELLIPSEटाइप करें → Axis points दें। - Spline:
SPLINEटाइप करें → Multiple points चुनें।
👉 उदाहरण: Circular staircase, curved façade, या ornamental elements।
Creating Point Objects (बिंदु बनाना)
Points reference markers होते हैं, जिनका उपयोग survey data, grid locations या detail references दिखाने के लिए किया जाता है।
- Command:
POINTया शॉर्टकटPO - Steps:
- Command Line पर
POटाइप करें। - Drawing area में क्लिक करें → Point बन जाएगा।
- Command Line पर
👉 आप PDMODE और PDSIZE System Variables से पॉइंट की shape और size बदल सकते हैं।
Creating Regions (रेजन बनाना)
Region एक closed area को 2D surface में convert करता है। यह mass calculation और 3D modeling के लिए ज़रूरी है।
- Command:
REGION - Steps:
- Closed geometry (जैसे rectangle, circle, polyline) चुनें।
- Enter दबाएँ।
- Selected shape अब एक Region बन जाएगी।
👉 Regions का उपयोग area calculations और volume modeling में होता है।
Hatching Areas (हैचिंग करना)
Hatch का उपयोग areas को visually highlight करने के लिए किया जाता है—जैसे wall cut sections, flooring patterns, या landscaping textures।
- Command:
HATCHयाH - Steps:
Hटाइप करें और Enter दबाएँ।- Pattern चुनें (जैसे ANSI31, Solid, Brick, etc.)।
- Closed boundary के अंदर क्लिक करें।
- Hatch apply हो जाएगा।
👉 Architects hatch का उपयोग करके drawing को पढ़ने योग्य और प्रोफेशनल बनाते हैं।
📝 Practice Exercise (अभ्यास)
- एक rectangle बनाएँ (RECTANGLE command से)।
- उसके अंदर एक circle बनाएँ।
- Rectangle और circle दोनों को select करके
REGIONबनाइए। - अब rectangle के अंदर Hatch pattern लगाइए (जैसे Brick या Solid)।
- Drawing में दो reference points जोड़ें (
POcommand से)।
👉 इस अभ्यास से आप lines, curves, points, regions और hatching पाँचों concepts समझ लेंगे।
निष्कर्ष
AutoCAD में objects बनाना आर्किटेक्चरल ड्रॉइंग्स की शुरुआत है। रेखाएँ, curves, points और hatching एक building plan की बुनियादी भाषा हैं। इन पर अच्छी पकड़ होने से आगे के complex tools और detailing में आसानी होती है।
अगले भाग में हम सीखेंगे – Modifying Objects (ऑब्जेक्ट्स को एडिट करना), ताकि बनाए गए drawings को बदलकर सटीक परिणाम हासिल किया जा सके।
Editing Objects
Learning AutoCAD for Architects
Starting AutoCAD | Setting Up AutoCAD | Using AutoCAD | Using Grips